6 Common Mistakes When Skimming Plaster and How to Avoid Them
Posted by Laura Rice | Published 30th May 2025
Skimming plaster is a rewarding skill. But it can also be a tricky task to get to grips with. One of the most valuable things you can do to help you master the art of skimming plaster is to learn, and avoid, the most common mistakes that people make. This will save you time, money, and probably plenty of frustration.
This guide looks at six of common mistakes when skimming plaster and how to avoid them.
What is Skimming Plaster?
Plaster skimming is a plastering technique that involves applying two or three thin layers of plaster over a wall or ceiling to create a smooth and even surface. Once a wall is skimmed, your painting or wallpapering should have a more professional finish.
6 Common Mistakes to Avoid When Skimming Plaster
- Not Cleaning and Prepping the Area Properly
- Not Using the Right Tools
- Not Mixing the Plaster Properly
- Using The Wrong Application Technique
- Applying Coats That Are Too Thick
- Not Allowing Enough Time to Dry and Cure
1. Not Cleaning and Priming
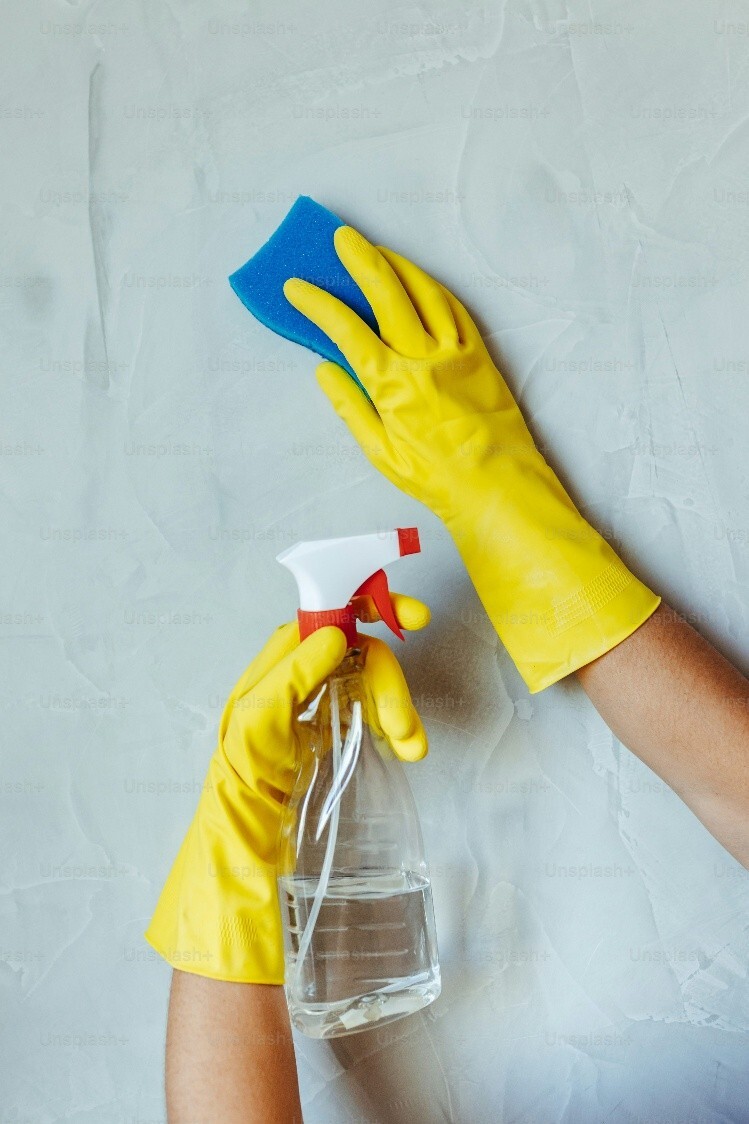
The cleaning and priming stages of skimming plaster are often overlooked. They’re both important for helping to ensure the plaster adheres to the surface properly. Skipping these steps can also make the end result uneven.
What You Should do
Clean the area you’re skimming with a sponge and a gentle detergent to remove dirt, dust, grease, and other bits of debris that might have built up over time. Once it’s dry, prime the area by brushing it with a PVA glue and water mixture. This will help the plaster adhere to the surface better. Furthermore, all tools should be cleaned between use.
2. Not Using the Right Tools
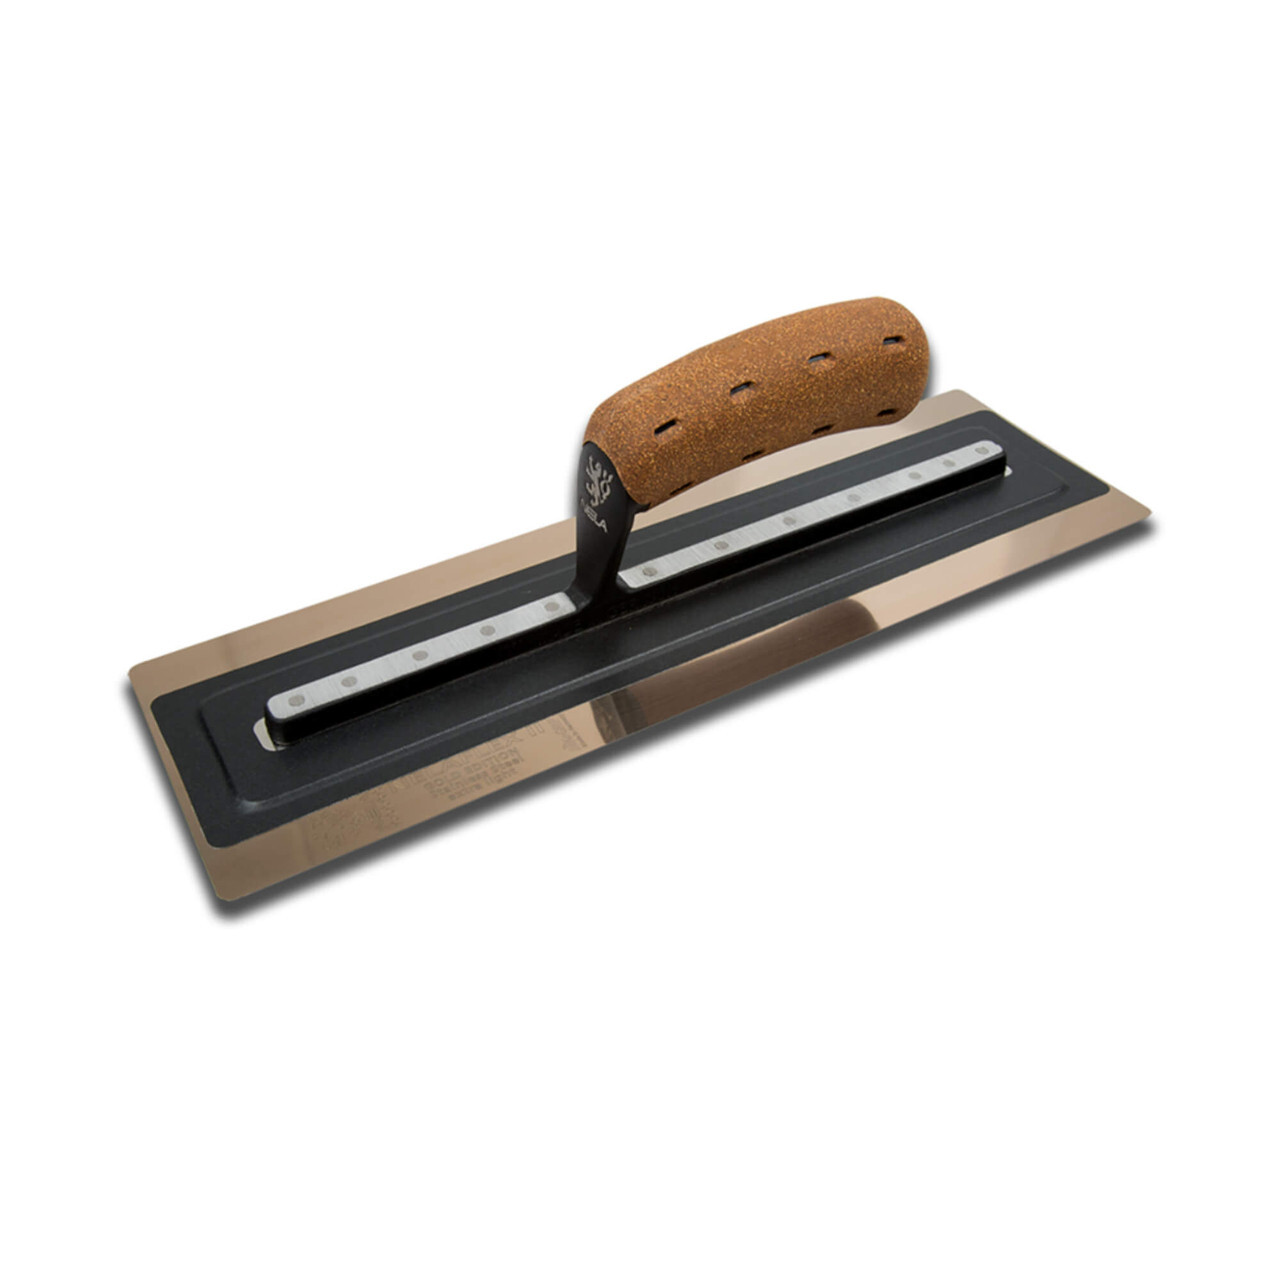
Nela NelaFlex II Gold Premium Plastering Trowel
With techniques like plaster skimming that require a good amount of skill and attention to detail, using the right tools is non-negotiable. Improper tools could impact the results of your plastering project, make it take longer, or make it more difficult.
What You Should do
For the best results when plaster skimming, your tools should be decent quality. This doesn’t necessarily mean you need to go out and buy the most expensive professional skimming tools you can find. But it does mean you’ll be better off buying reputable brands. Nela, Refina, OX, and DeWalt skimming tools are all good quality. Keep your plastering tools clean and safe in a sturdy tool box for your trade.
3. Not Mixing the Plaster Properly
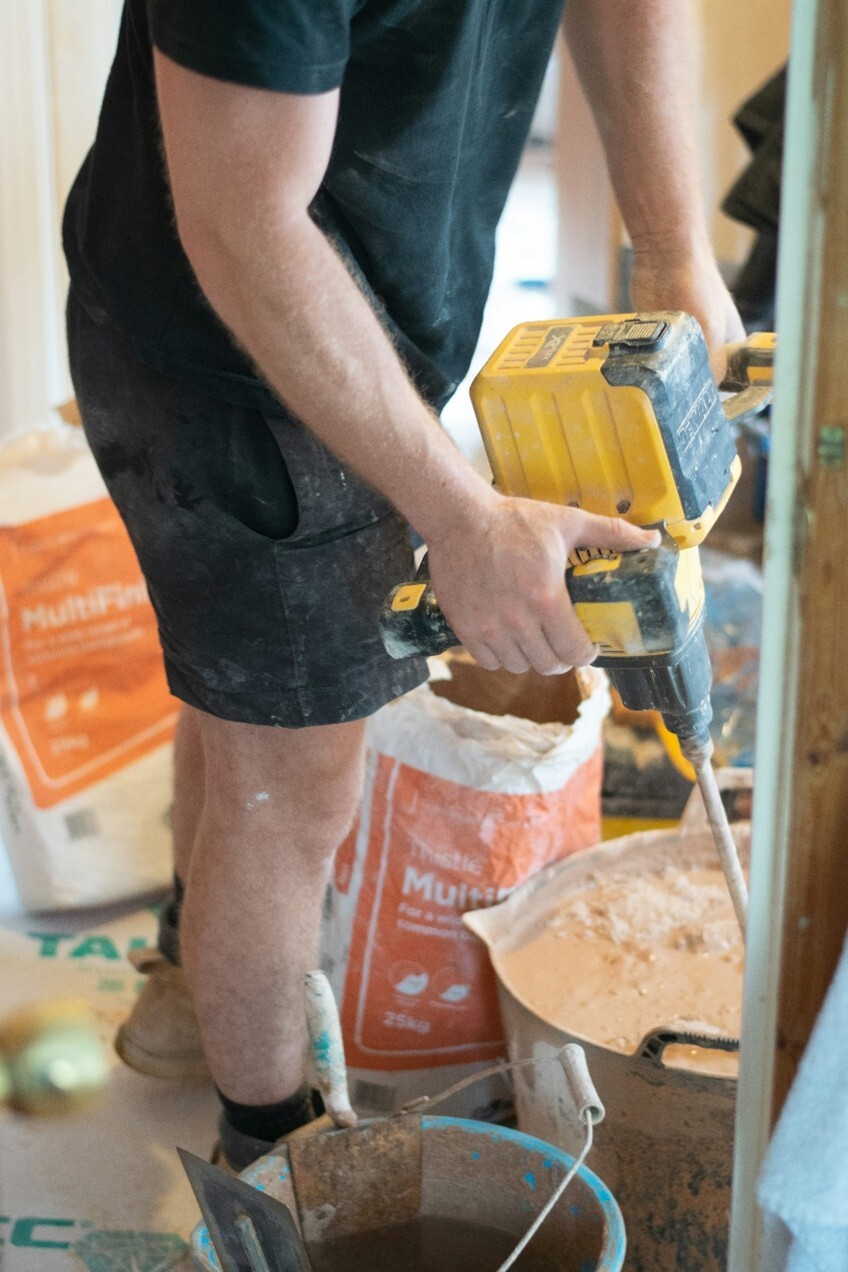
If it’s your first time mixing plaster, you might not know the ideal consistency or the best techniques to achieve the best results. You could end up with lumpy, flaky, or uneven walls and ceilings. It’s also useful to know what tools will help you with mixing because getting the right consistency by hand will be very hard work.
What You Should do
A common question for plastering beginners is do you add plaster to water or water to plaster. You need to begin by adding cool water to your mixing bucket and slowly add your plaster. As you’re adding your plaster, use a drill and plaster mixing paddle to mix it thoroughly and to help prevent clumps from forming. Keep mixing until you have a smooth, mayonnaise-like consistency. It’s always a good idea to mix the plaster and water again before beginning your skimming.
Only mix a small amount at a time because plaster starts to harden quite quickly. Ensure you read the instructions for specific quantities and times.
4. Using The Wrong Application Technique
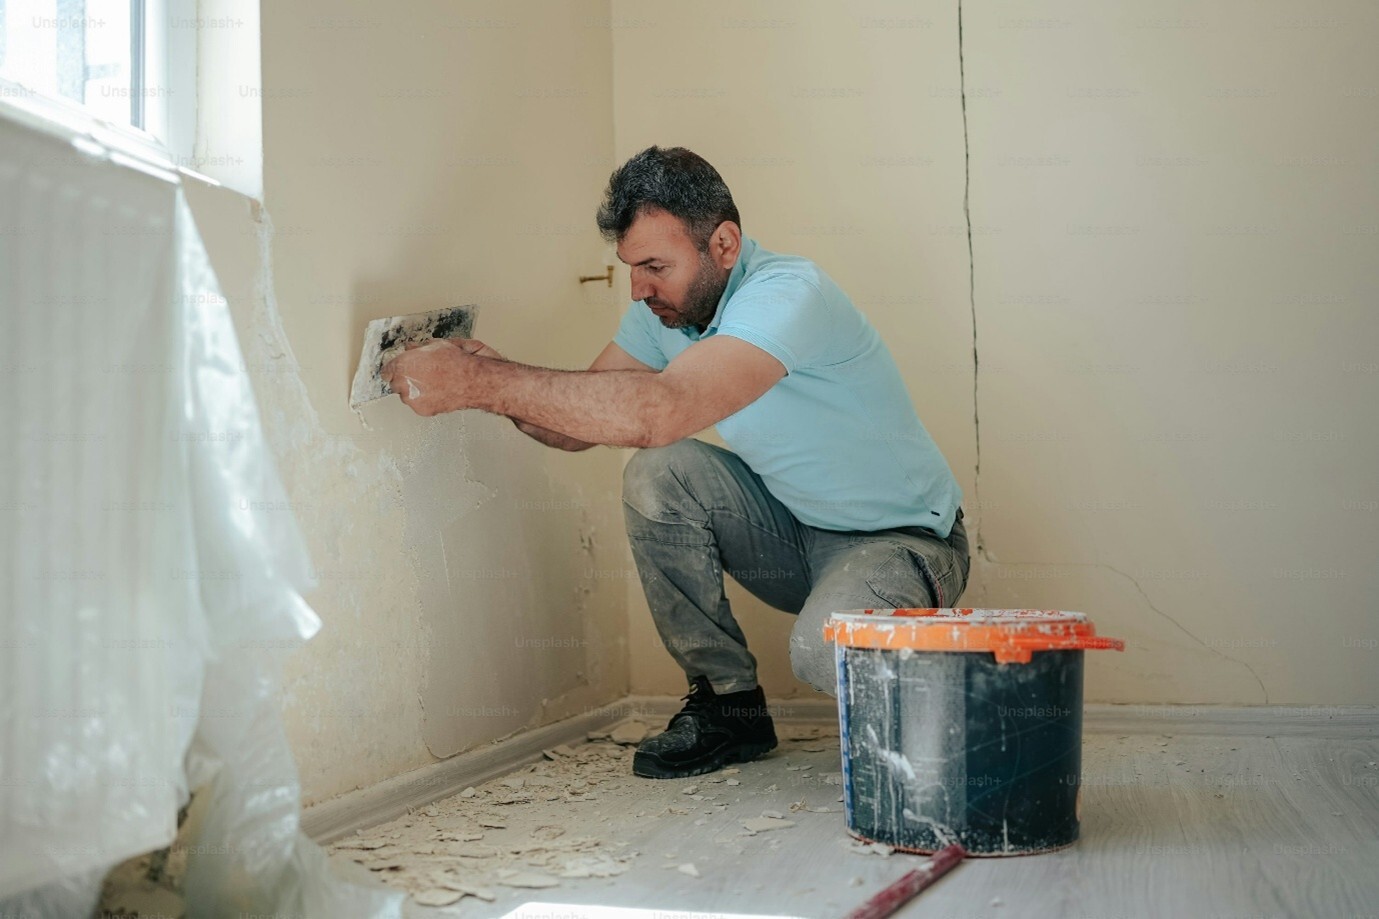
Applying plaster to a wall is a technique you’ll get used to with time. But there are things you should avoid from the offset to minimise mistakes. For example, applying the plaster too lightly could result in air bubbles in your plaster. Additionally, working too slowly will result in the plaster starting to dry before you finish, making it impossible to work with.
What You Should do
Use a plastering hawk to keep a small amount of plaster in the hand you’re not trowelling with. Transfer some to your trowel and, starting at the bottom left corner of the area, angle your trowel slightly away from the wall and glide upwards. Press firmly and evenly and flatten the trowel when you’re getting to the end of each stroke. Slightly overlap your next stroke with the previous one so there aren’t any gaps in plaster.
5. Applying Coats That Are Too Thick
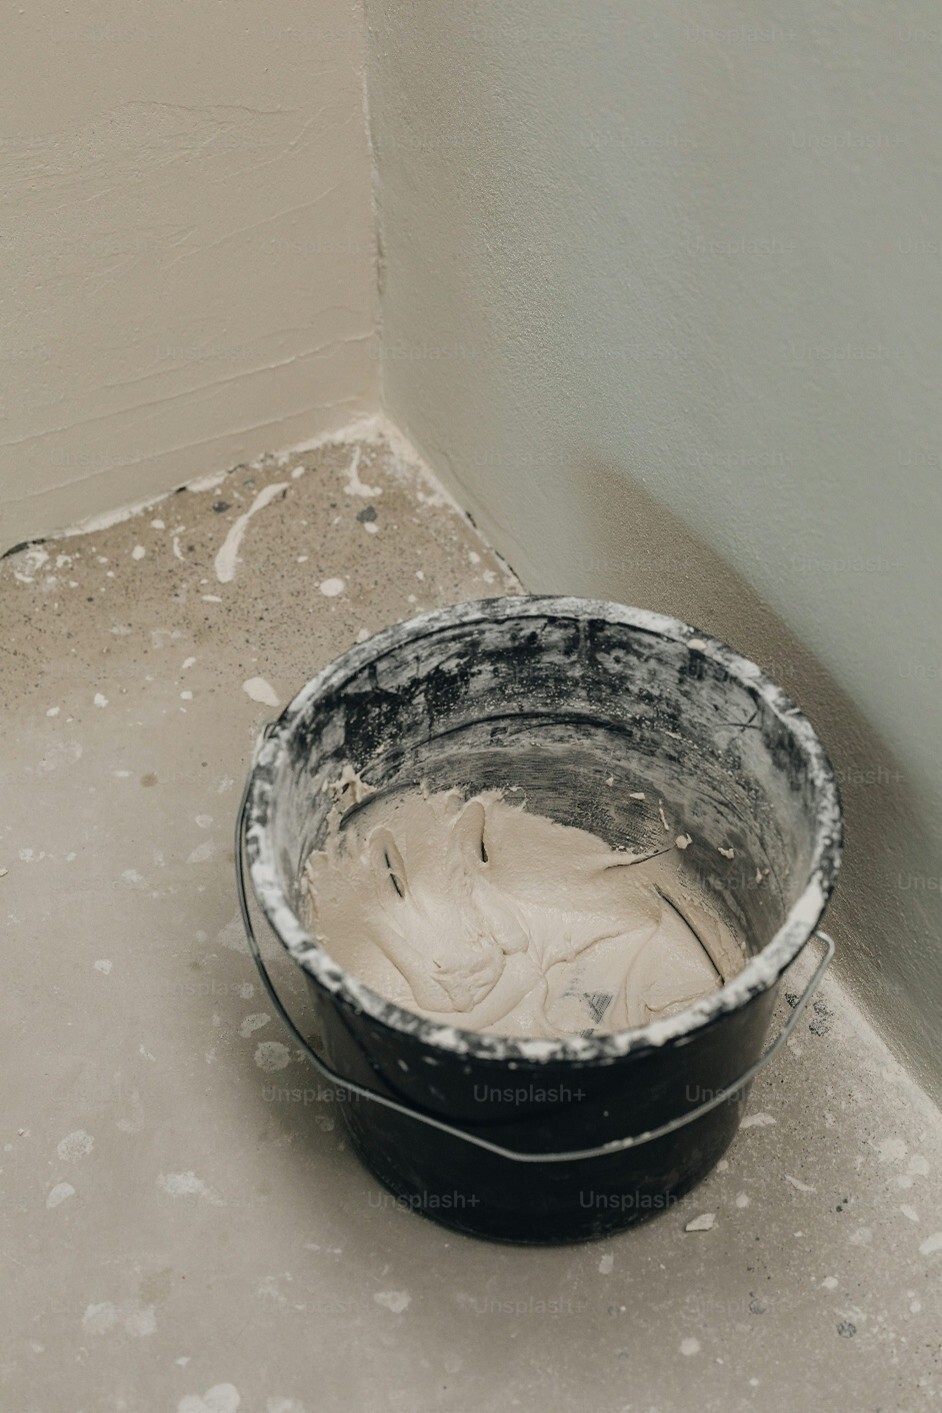
Thick coats of plaster will not only take longer to dry, but they’ll also be more prone to cracking. The point of plaster skimming is to apply two thin coats of plaster rather than one thick one. This creates a more durable and even finish. Thick coats of plaster are tricky to work with to achieve desirable results.
What You Should do
Apply each coat at about 1-2mm thick.
6. Not Allowing Enough Time to Dry

You can run into problems, both quickly and over time, if you don’t allow enough time to dry before painting or wallpapering. First and foremost, with moisture still locked into the plaster, the paint and wallpaper will have trouble adhering to the wall. This can lead to bubbling and flaking. Not allowing your plaster to dry properly can also cause damp patches, cracks in the plaster, discolouration, and a general brittleness of plaster.
What You Should do
Drying times for plaster skim vary depending on a number of factors. The temperature, for instance, as well as the humidity, and thickness of plaster. It can take up to two weeks to completely dry but read the instructions on your plaster packet for specific times. You can speed things up by placing a dehumidifier in the room, reducing the temperature, and opening windows for better air circulation.
Note: Extreme heat can cause plaster to crack, so avoid!
Conclusion

Now you’re aware of the most common mistakes when skimming plaster, you can take steps to avoid them. Hopefully this guide will save you some time and stress while carrying out your plaster skimming projects.
If you’re looking for the right tools for the job, TW Wholesale can help. We have an extensive range of high-quality plastering tools, including top brands like Refina, OX, DeWalt, and Nela. Whether you need a plastering trowel, finishing trowel, mixing bucket, or paddle mixer, we’ve got what you need.
Looking for a step-by-step guide on how to skim plaster a wall? We’ve got one of those too.


