How to Skim Plaster a Wall in the UK: Easy Step-by-Step Guide
Posted by Laura Rice | Published 30th May 2025
Plaster skimming takes time and patience but it’s a valuable skill to master. When you learn how to skim plaster a wall with precision, you can transform your walls into a smooth foundation for your paint, wallpaper, or artwork. With practice, you can learn to consistently achieve professional plaster skimming standards.
This guide is for DIYers and professional plasterers looking to learn new skills or brush up on their plaster skimming techniques.
What is Plaster Skimming?
The terms plastering and skimming might be used interchangeably but they’re not quite the same thing.
Plaster skimming is a specific technique within the broader practice of plastering. Its purpose is to create a smooth and even surface on walls and ceilings so you can achieve a more professional standard when decorating.
Plaster skimming involves applying a thin layer (or two) of plaster over existing plaster or other surfaces using a trowel. You then leave it to dry and sand it down for an even finish.
Why do You Need to Plaster Skim Your Walls?
Here are some compelling reasons to plaster skim your walls:
Smooth Surface

With plaster skimming, you can cover up imperfections like cracks and dents without having to completely replaster the whole wall or surface. It allows you to create a smooth base.
Helps With Adhesion
When you skim plaster a wall, you’re creating an adhesive foundation for your paint or wallpaper. It helps minimise issues like paint flaking and wallpaper bubbling because they stick to the surface better.
Quicker to Dry
Skim plastering your walls takes less time to dry than a full plaster because you’re only applying a thin layer at a time. This makes it a more convenient and time effective task.
Sound Insulation
You can get more sound insulation for your rooms when you plaster skim your walls and ceilings. You can also buy sound absorption plaster that absorbs sound waves for even better insulation.
Durability
Skim plastered walls are more durable and will deteriorate slower over time than walls with chips and cracks. This means that by plaster skimming, you can save yourself time and money in the long term.
What Materials Do You Need to Skim a Plaster Wall?
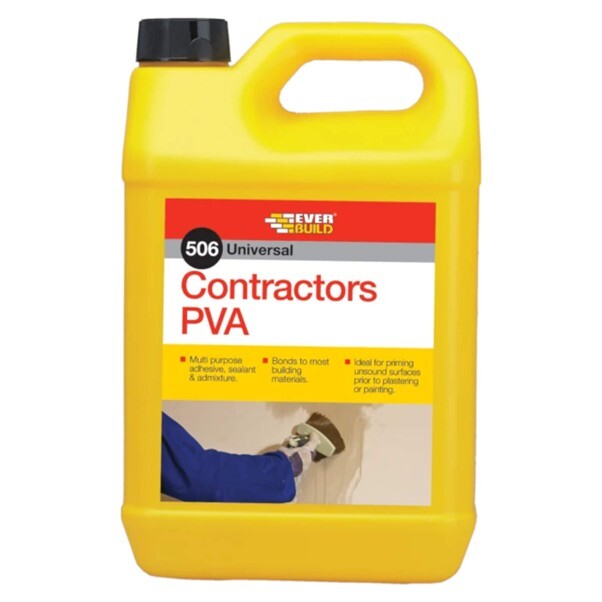
Everbuild 506 Contractors PVA 5L
- Skimming Plaster: This is the main material you’ll use to plaster skim your walls. There are many types of skimming plaster so do some research before buying.
- PVA Glue: PVA glue acts as an adhesive to help bond your plaster to your walls, in addition to reducing moisture.
- Water: You need to mix your plaster with water to create the right consistency for plaster skimming.
What Tools do You Need to Skim Plaster a Wall?
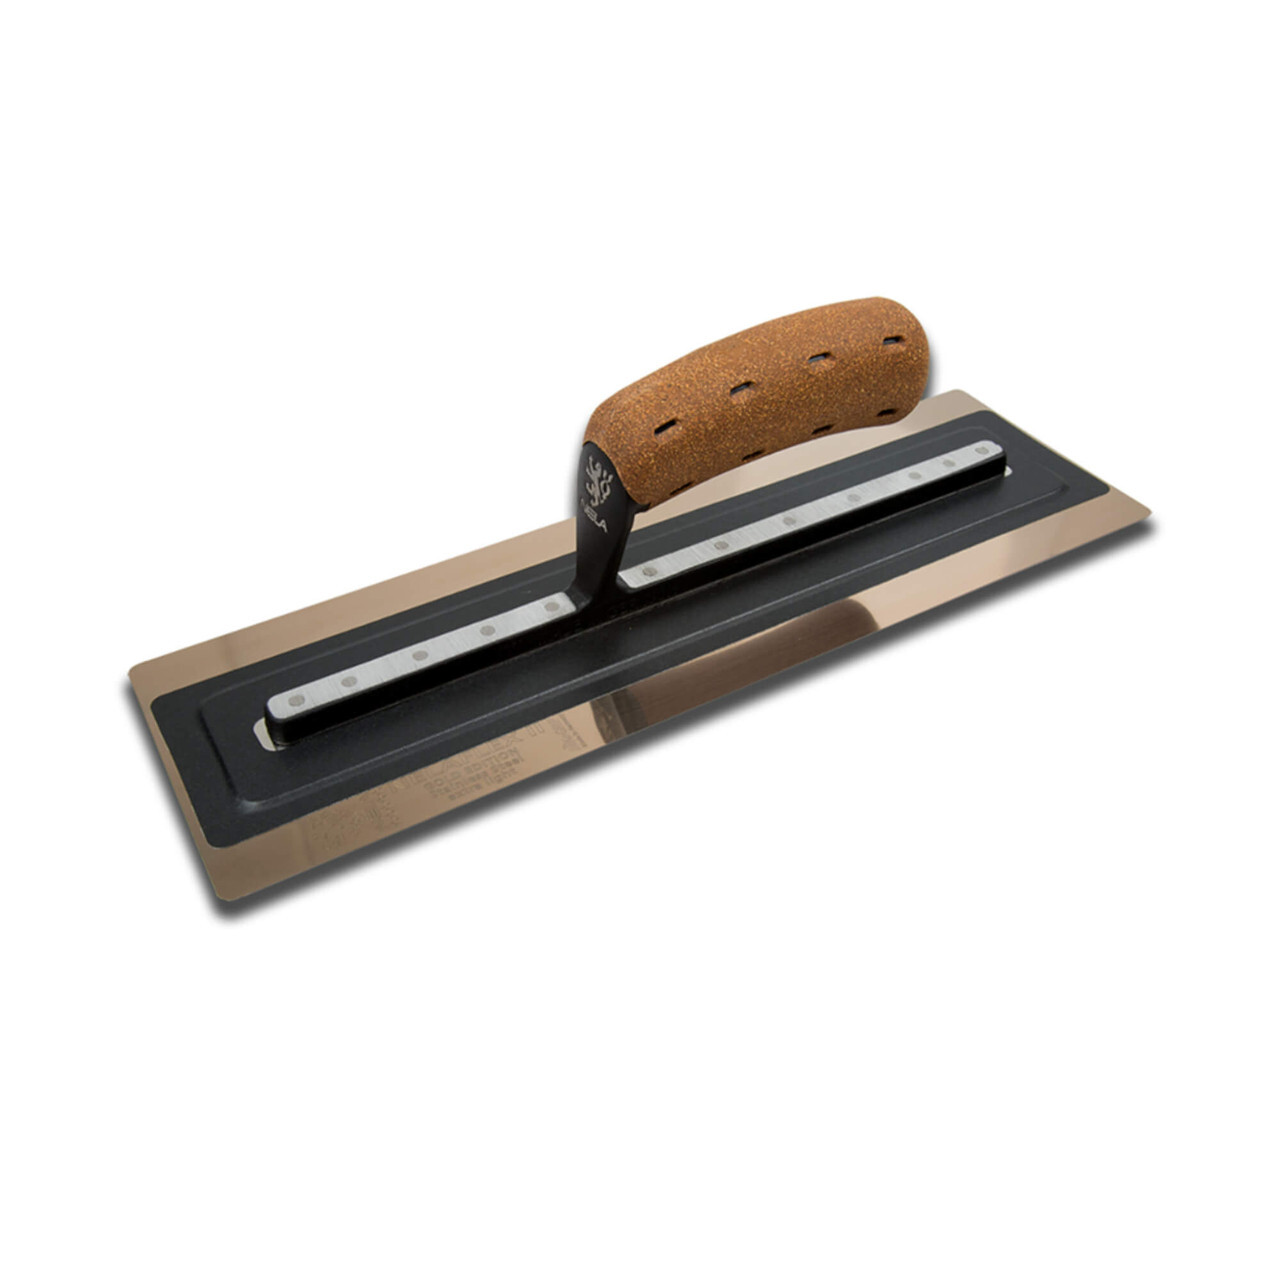
Nela NelaFlex II Gold Premium Plastering Trowel
- Plastering Trowel: This will be your number one tool to plaster skim your walls. It’s a rigid trowel type that you’ll use to apply your plaster.
- Finishing Trowel: Your finishing trowel is more flexible than your plastering trowel and you’ll use it to smooth your plaster after applying.
- Spray Bottle: Use this to dampen the plaster when you’re smoothing it between coats.
- Plastering Hawk: This is a plastering tool that you’ll use to hold your plaster with one hand while skimming with the other.
- Bucket Trowel: A handy tool for scooping your plaster onto your hawk.
- Mixing Bucket: For mixing your plaster and water together.
- Drill and Paddle Mixer: Also for mixing your plaster and water together.
- Water Brush: Used to wet the trowel and wall before plastering.
- Sander: Use a sander to smooth down the surfaces after your second coat of plaster.
Step-by-Step Instructions for Plaster Skimming Walls
- Step #1: Prepare a Wall for Skimming
- Step #2: Mix Your Plaster
- Step #3: Apply Your Skim Coat
- Step #4: Smooth it Out
- Step #5: Do the Next Coat
- Step #6: Sand Your Skim Coat
- Step #7: Leave to Dry
Step #1: Prepare a Wall for Skimming
Here’s how to prepare a wall for skimming:
Remove Wallpaper and Loose Paint
Start by removing all the wallpaper from the wall, as well as loose bits of paint and plaster. You want your surface to be as clear as possible.
Fill in Cracks and Chips
Use a suitable filler, such as joint compound, to fill cracks and chips in your walls. Wait for it to dry before sanding down any rough patches and imperfections.
Clean Your Walls
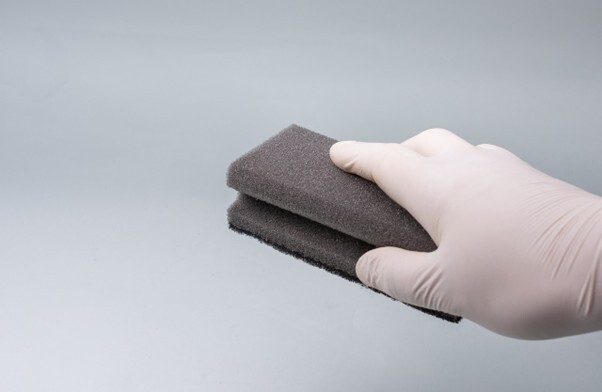
Now you should clean your walls with a gentle cleaner and water to remove dirt, dust, and any other debris that might be there. Again, you must leave the wall to dry afterwards.
Prime Your Walls
Using a primer before plaster skimming your walls will make the plaster stick better. Use a diluted PVA glue mixture. Apply a thin layer to your wall and leave to dry completely.
Step #2: Mix Your Plaster
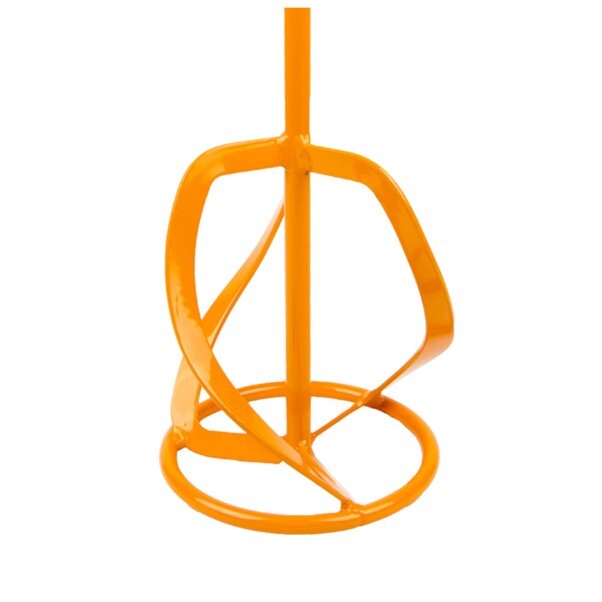
Refina MR3 Spiral Plaster and Cement Mixing Paddle
Mix your plaster and water in your big bucket according to the instructions. Use your drill and mixing paddle (like the Refina Mixing Paddle pictured above) to achieve a lump-free consistency that’s like mayonnaise. Your drill and paddle will also make this job much easier on your arms.
The packet should give you a timeframe within which you should use your plaster. If you leave it for too long it will harden and be unusable. For this reason, it’s a good idea to not make up too much at a time. You’ll probably find it useful to have someone mixing while you skim.
Step #3: Apply Your First Skim Coat
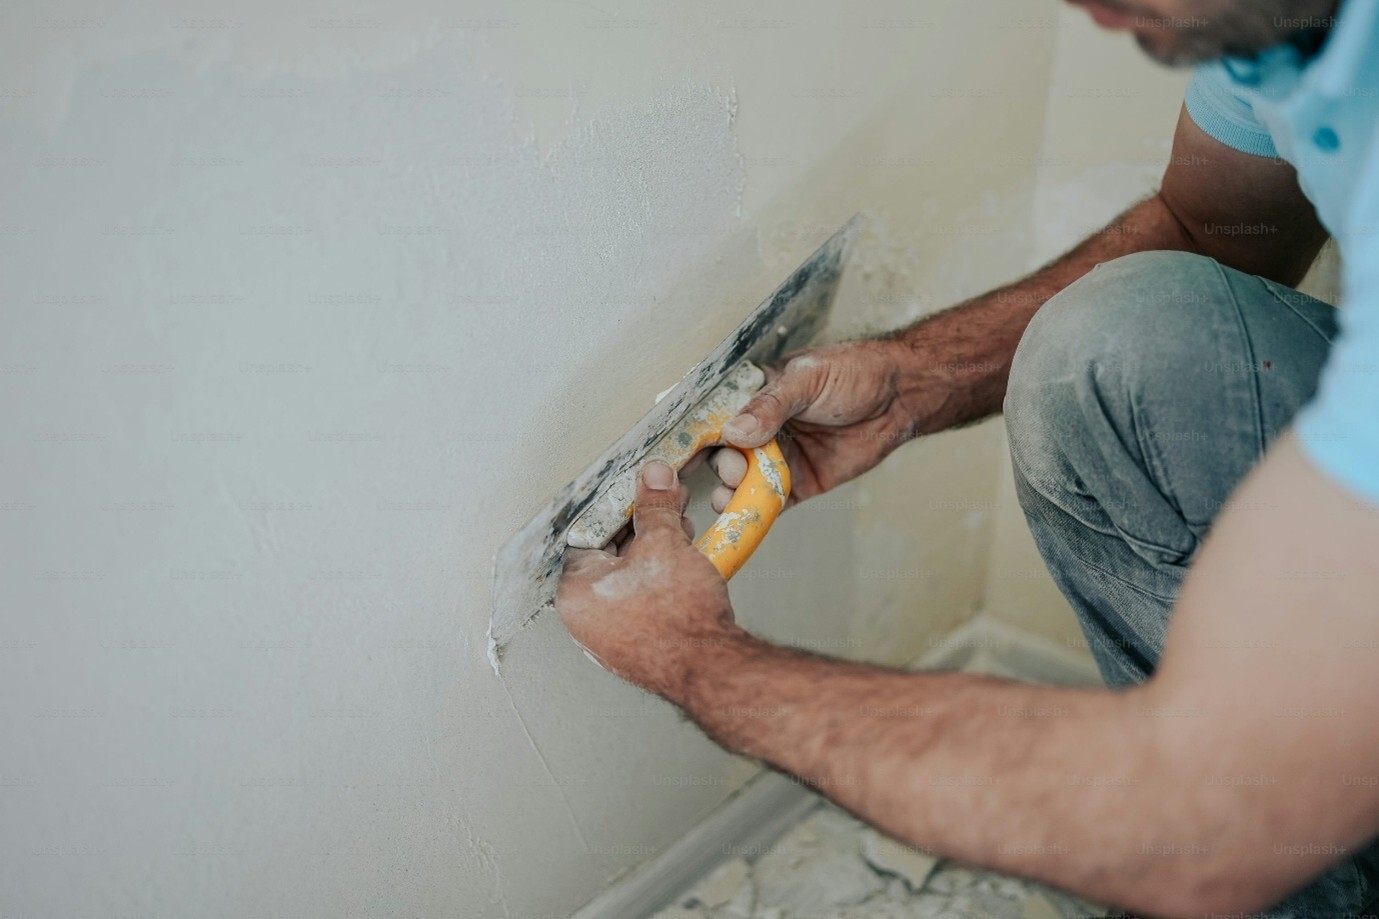
Put some plaster onto your plastering hawk. Hold the hawk with one hand and your trowel with your other. Transfer a small amount of plaster onto your trowel. Use your water brush to wet the surface before skimming. This will help prevent it drying too quickly and cracking while you’re working.
Now, starting on the bottom left corner, angle your trowel a little bit away from the wall and apply the plaster in an upward, sweeping motion. Ensure you maintain firm and even pressure the whole time.
When coming to the end of each trowel stroke, flatten your trowel to make the plaster smoother. Begin each subsequent stroke slightly overlapping with the end of the previous one so gaps don’t creep into the plaster coat.
Work your way along your wall, repeating the upward, sweeping process until you get to the end. Lay the plaster as smooth as you can. However, you will be able to smooth out any bumps with your flexible trowel in the next step.
Step #4: Smooth it Out
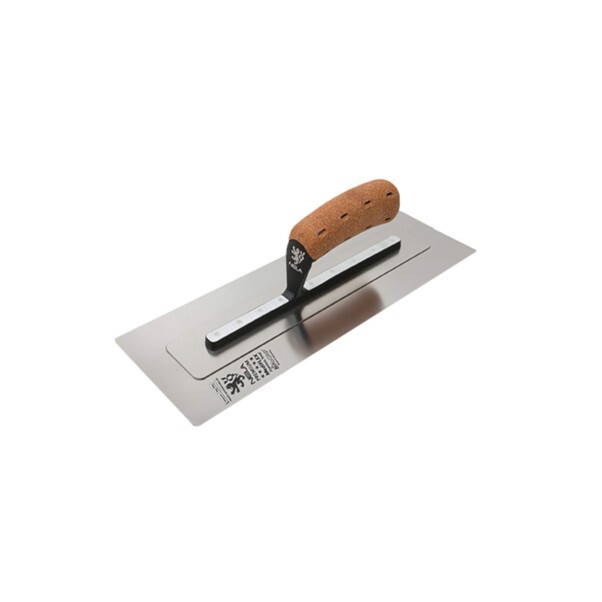
Nela Mediflex Premium Plastering Trowel
Wait around 20 minutes. Then, using your spray bottle with water to moisten the plaster, go over any lumps and bumps with your flexible finishing trowel to smooth them out. This is also where you can fill in any gaps you might have left accidentally. Take a damp water brush and smooth out the edges and corners where the trowel is awkward to reach.
Step #5: Do the Next Coat
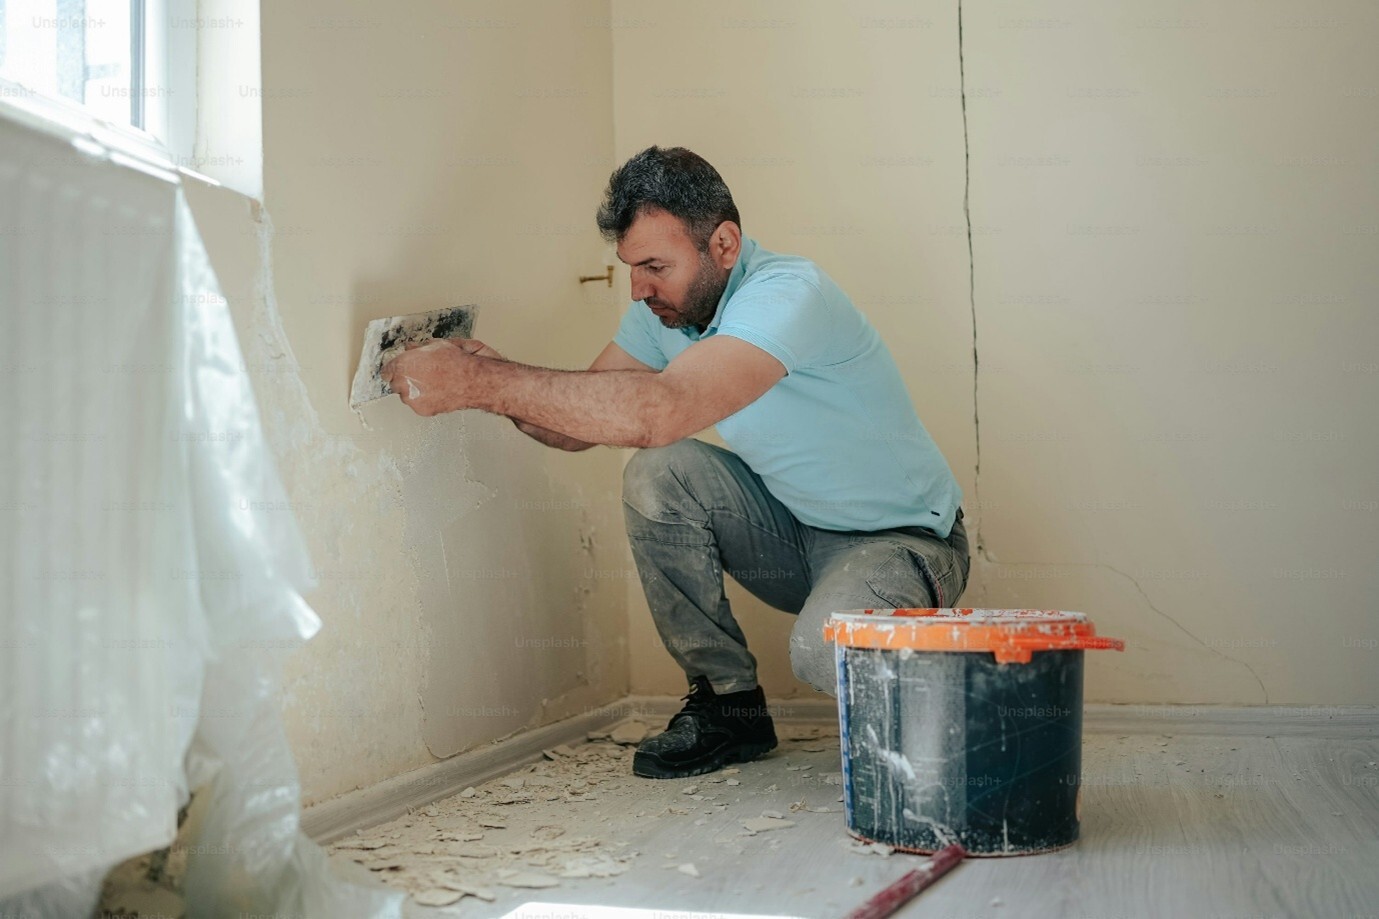
You shouldn’t need to wait too long for the first coat to dry enough to apply the second coat in the same way you did the first. If you press your finger lightly onto the plaster, it should leave a mark but not be so wet that it pulls away from the wall and onto your finger.
Once you’ve done your second coat, repeat Step #4 to smooth it out.
Step #6: Sand Your Skim Coat
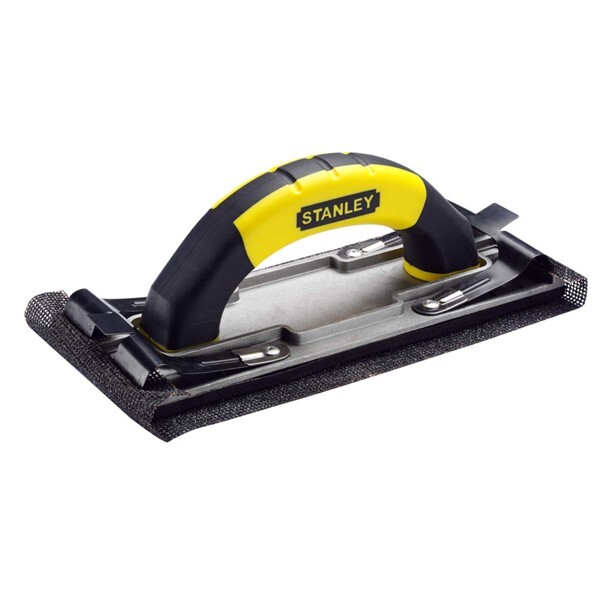
Wait until the plaster is completely dry then sand any further imperfections with your chosen sander. Use fine-grit sanding paper where possible and make sure you’re gentle. You don’t want to ruin your hard work with aggressive sanding.
Step #7: Leave to Dry
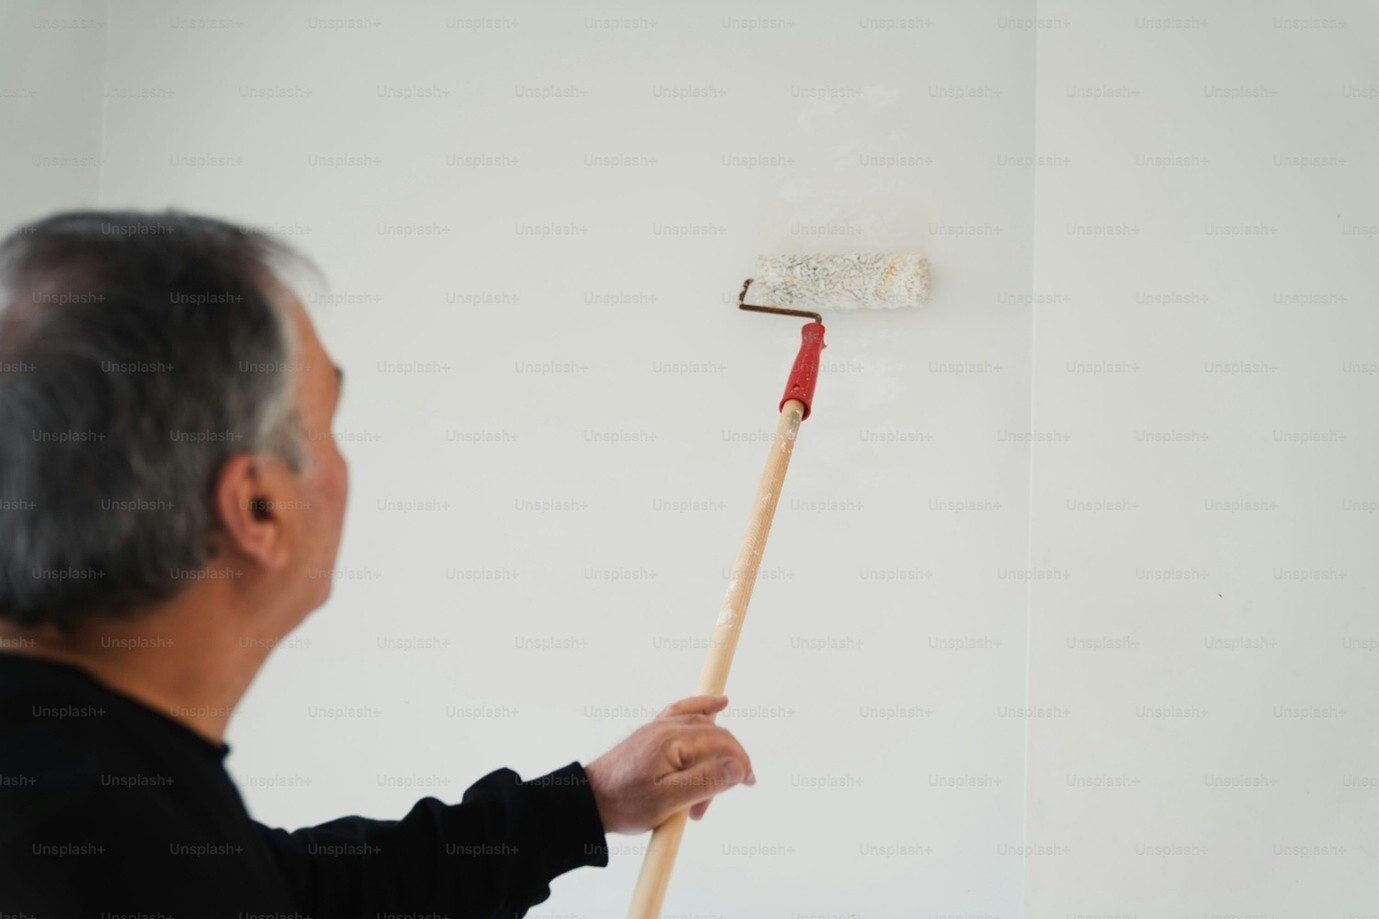
Now all that’s left to do is to leave the plaster to dry completely. This could take one to two weeks. However, there are multiple things that can impact the time. For example, the thickness of layers, the temperature, the type of plaster, and the humidity.
With your wall skimmed and sanded, you’re free to wallpaper and paint.
Tips for Smooth Application
- Work quickly so the plaster doesn’t start to dry before you finish.
- Apply only a thin layer each time; between 1-2mm. Thick layers will be more prone to cracking and take longer to dry.
- Ensure your tools are clean before plastering so small bits don’t interfere with the results.
- Press firmly when you’re plaster skimming a wall to avoid air bubbles in your plaster.
- Turn off your electricity supply and cover sockets and switches before skimming.
Note: Times mentioned in this post are a guide only. Please refer to the instructions for your plaster for definitive times and other specific instructions.
Plaster Skimming FAQs

How Many Coats of Plaster do I Need for Skimming?
Normally, two coats are enough. However, if there are lots of imperfections throughout the wall, you might benefit from a third coat.
How Much Plaster do I Need to Buy?
You will need to calculate how much you need by using the measurements of your walls, the thickness of each coat you intend to apply, and how much plaster your chosen pack makes up.
Can I Skim Over Old Plaster?
Yes, you can skim over old plaster as long as it’s in reasonable condition. It should be firmly attached to the surface, dry, and have minimum cracks. If there are cracks, fill them in using the method we spoke about earlier.
Can I Plaster Over Wallpaper?
Plastering over wallpaper is not recommended because the plaster won’t adhere to the wallpaper material well. The plaster could come loose and crack, and might be uneven.
Do You Add Plaster to Water or Water to Plaster?
For best results, start with a tub of cool water and slowly add your plaster to it. This will help it mix better to achieve a smoother, lump-free consistency.
What if My Plaster Starts to Crack?
You should fill in the cracks with joint compound and repeat the process of adding a skim coat and sanding it.
Conclusion

This guide has gone through how to skim a wall, giving straightforward step-by-step instructions. However, as explained at the beginning, the actual plaster skim technique will probably take a bit of time to master. It’s a skill that needs to be perfected.
With practice, you’ll learn how much pressure to apply when skimming, the ideal angle at which to tilt your trowel, and the perfect thickness of each coat of plaster.
If you’re wondering where to get the things you need for your plaster skimming projects, TW Wholesale can help. We stock a range of professional plastering tools and materials like trowels, tubs, brushes, and mixing paddles.
Take a look at our online store or pop in and see us if you’re in the Swadlincote area.


